Sunday, December 4, 2011

Silhouette-inspired art

Last winter, I repainted our hall bath upstairs. We went from basic builder's off-white to terra cotta. It is primarily the kids' bathroom. Here is a shot of what it looked like then.


I was using the dark plum color as an accent with the art and also a floor rug. It was nice and I could have really run with it....except that it is not very kid-friendly. : )

So, I bought a new shower curtain and I decided to do some more graphic art myself. You'll see the shower curtain down at the bottom of the post. I was inspired by some silhouettes I had made for our family room. You can see them here.

I started with some picture frames that I picked up at a garage sale for $1. They got a coat of white spray paint.


I got a few sheets of scrapbook paper at the craft store. Luckily, they were having a sale....5 sheets for 95 cents. Plus, I used my teacher discount card for an additional 15% off. : ) I chose the colors to match the shower curtain.


I printed up a few bathroom-inspired shapes from clipart. It is super easy to choose your print and enlarge it. The new Office 2010 Word program has a neat color tool where you can change it to a different color....or even an outline. I chose grayscale so it would be a bit easier on the printer ink cartridge.


The next step is to cut around the image over the color you want your shape to be. I chose white that would be on blue.


Once cut out, I laid them out on the glass. I made sure to clean the glass well!


Then lay in the blue and assemble the back of the frame...and here they are.


On the wall.....


I really like the blue with the terra-cotta orange! Here you can see the new shower curtain.


It is from the Dwell line at Target. The selection online is great!  I like how it is kid-friendly, but not too much so. My art could also be really cute as sea creatures.....and it would not be too hard to change out when I'm ready for a change. I think the project cost about $3 total.


Paper--$1
Frames--$1
Spray paint--already had, but would prob. be about $4 bought new


Definitely more kid-friendy. : )


Party Time......
Time Travel Thursday at The Brambleberry Cottage
Fridays Unfolded at Stuff and Nonsense
Feathered Nest Friday at French Country Cottage
Show and Share Day at Just a Girl
Simply Creations Link Party at Simple Home Life
Addicts (not so) Anonymous Addicted to Decorating
Sunday Showcase Party at Under the Table and Dreaming
Project Parade at The DIY Showoff
Creative Bloggers' Party and Hop at Homemaker on a Dime
Tip-Toe Thru Tuesday at Crayon Freckles
Sunday Shake-up at Jacque's Soda Parlor
Fabulous Friday at Ohh Baby
Pinspirational Thursday at The Artsy Girl Connection
Make the Scene Monday at Alderberry Hill
Sunday Salvation at Sassafras Salvation
Tuesday Talent Show at Chef n Training


[beforeAndAfterButton%255B3%255D.gif]

Friday, December 2, 2011

Good read: Moloka'i

I've been reading some good books lately....one of them is Moloka'i by Alan Brennert. Although  my reading tastes vary--everything from trashy romance novels to gardening books--I really enjoy historical fiction. I love learning about different times and places in history.

Moloka'i takes place in the early 20th century in Hawai'i. I had no idea that there was a leper colony in Hawai'i at that time. To be honest, I didn't know much about leprosy OR leper colonies. 


The book is the story of Rachel, a little girl who gets leprosy when she is a young girl, about seven years old. She is taken from her family to live at Moloka'i at the leper colony. The story is about her coming of age there and her life and womanhood. Although Rachel is a fictional character, many of the characters are based on real figures and many of the happenings are true to history. There were still residents of the leper colony living there recently. Rachel certainly lives an amazing life.

If you enjoy historical fiction, this is a great book to pick up!

Thursday, December 1, 2011

WOW....Wild on Wednesday

Okay, here it comes....the next installment of Wild On Wednesday.


I've been sick since before Thanksgiving, so I'm really stretching here to find some wildness. As my husband said last week, I might be the only person who did not gain weight over Thanksgiving. : )


Free shipping.....I am very much a cyber-Christmas shopper. I love shopping from the comfort of my living room, in my pajamas while the TV is on. I started Christmas shopping online once I had a baby and I did not have unlimited time to go out and fight the crowds! I don't even require free shipping all the time....Sometimes I'm willing to pay the shipping just so I don't have to go out shopping!


Sprite and toast....my good buddies during my illness. ; )


That's all I got, peeps....I'm looking forward to getting back to being myself. My house is wreck!


Sunday, November 27, 2011

Come on in from the cold

Hey, there....hope all of you had a great Thanksgiving! Unfortunately, I spent most of mine under the weather and am still on the mend. Here's hoping for a better go-'round on the next holiday. I didn't consume nearly as many cups of cheer as I'd hoped.....; )

Since we are getting close to the dearth of winter, I dug up one of my rosemary plants before a killing frost this fall. The others I dried, but this one got potted up.


In the past, when I've done this, I've had trouble with the leaves turning brown and dropping. No sign of that yet with this one.


*fingers crossed* 


I so love having this plant inside...the smell is heavenly!

Wednesday, November 23, 2011

Pillow recovery--tutorial

Hope all of you are ready for the gastronomic greatness that is Thanksgiving...if you are traveling, safe travels!

You may or may not know that I am new-ish at sewing. I took a class at the craft store a year ago and I am so glad I did. I've had a lot of fun with lots of projects...perhaps I'll feature all of them in a post in the near future. : )

Well, for one of my projects, I was inspired by this......


Our wonderful almost seven year old dog, Chessie, is responsible for that. And that's the pillow insert. I threw away the pillow cover before thinking of taking a pic of that. She does this when we have babysitters over at the house with the kids. I don't know why she has to be so naughty!!! She's perfectly fine when it's just us.


Who would think this cutie could be capable of that??


Well, she did. And so we invested in a muzzle.....: ) Just for when we have the sitters. The pillow put me over the edge.


So, I hand-stitched the pillow insert and decided to make a pillow cover. My mom had given me two old shower curtains she had and the fabric would work well with my other pillows.


I've been using a tutorial here for envelope-back pillow covers. The only thing you have to do is adjust their measurements to the size you have. I really like the envelope back, since they're easy to make and easy to remove to wash (definitely necessary when you have kids!).


I started by washing and drying them, then ironing my fabric.


I used my rotary cutter and mat to measure out the fabric. Basically, you will have the width of the pillow on one side and the other side will be the length of the pillow, plus 4-6 extra inches to make the overlap part of the envelope back on each side. My pillow was 18", so I measured 18"x 36".


Then, I folded over and ironed the ends that would be making the envelope back. These will be the only seams showing on the outside. You fold over twice and iron...then run that through the sewing machine to prevent fraying.


You then lay your fabric out and you measure in from the ends, depending on your pillow size. Make sure you lay the fabric with right side up, since eventually we will turn it right side out (you will be making it inside out). For mine, I measured in 11" from both ends and marked with a pin....the tutorial has a nice diagram. This will be the spot where the fabric folds over to make the front and the back.


 Here is what it looks like with both sides folded over, before sewing the ends closed.


You run each end through the machine. I do mine twice to make sure they will stand up to dog and kids. Once you have done that, you will turn out the corners.


Here you can see the back of envelope and the corner.


And...the finished pillow.


Much better than a chewed-up pillow, huh?


Party Time......
Time Travel Thursday at The Brambleberry Cottage
Fridays Unfolded at Stuff and Nonsense
Feathered Nest Friday at French Country Cottage
Show and Share Day at Just a Girl
Simply Creations Link Party at Simple Home Life
Addicts (not so) Anonymous Addicted to Decorating
Sunday Showcase Party at Under the Table and Dreaming
Project Parade at The DIY Showoff
Creative Bloggers' Party and Hop at Homemaker on a Dime
Tip-Toe Thru Tuesday at Crayon Freckles
Sunday Shake-up at Jacque's Soda Parlor
Fabulous Friday at Ohh Baby
Pinspirational Thursday at The Artsy Girl Connection
Make the Scene Monday at Alderberry Hill
Sunday Salvation at Sassafras Salvation
Tuesday Talent Show at Chef n Training

Monday, November 21, 2011

Natural elements wreath

Last weekend, I did one last fall craft....I've had this grapevine wreath for a long time and I haven't known quite what I wanted to do with it.

But when I found some seedpods on the ground outside of my classroom last week and I thought they would look great on a wreath.....

So, I started with this.....


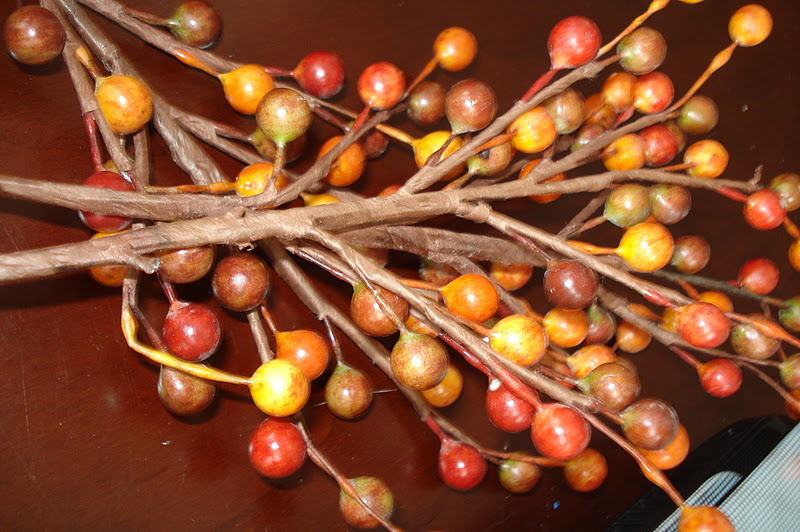
I also had some fall-ish beads....


I used my wire clippers to cut the small stems of beads off the larger stem. Then, I used my glue gun to attach the beads and the seedpods to the wreath.


I have no idea from what tree those seedpods come, I just thought they'd look neat!


I really like the look of a wreath over a mirror and it adds a seasonal touch to that wall. I have seen some cool fall wreaths that have feathers in them.....so I may add those next year!

That's it for fall this year....which is good, since we got a jump on the Christmas decorating this weekend. : )

Friday, November 18, 2011

Going bananas for pancakes


I would have to say that I am pretty much a utilitarian cook....I don't mind cooking and I enjoy making tasty dinners and dishes. But....I am not a person who tries new recipes constantly or likes to experiment in the kitchen. ; )

I do like to make pancakes for the kids on weekends. I make them from scratch, since I don't keep pancake mix on hand. The recipe is not that hard and you can customize it! 

We usually add white chocolate chips to pancakes...but last weekend, we added banana, since I had an old, ripe banana that needed to be used up. Usually for me, a good excuse to make banana bread, but I decided to go with banana pancakes. I'll list the recipe below....plus, I have some tips I've learned that make pancake time go much more smoothly!

First, I mix up the ingredients. No need to use a mixer--a few lumps are fine.


Okay, not the ripest banana ever, but still needed to be eaten! I mashed it up and added it to the batter.


Here is one of the tips I've picked up.....to keep the pancakes from sticking, use a paper towel with some oil (olive or other) soaked into it. Wipe it onto the heated skillet or griddle between each round.


Look for bubbles to flip.


You can also put the oven on warm and keep the cooked pancakes on a plate in there if you would like to serve all of the pancakes at the same time.


Pancakes are also a great excuse for sprinkes....my kids like sprinkles on top. I think it's because the box of frozen mini pancakes they like has sprinkes on the pancakes. What isn't better with sprinkles?

You can try different fruits or different chocolates in your pancakes.....

Pancakes from Scratch
1 egg
1c milk
1c flour
2 tsp baking powder
1/2 tsp salt
1T sugar

Mix all ingredients. Can use whole wheat flour if you prefer.

Enjoy some pancakes on a chilly morning!